Wallpapering tips
Here we will explain, step by step, just how easy, quick and clean wallpapering can be.
1. Wallpaper installation for blown vinyl and vinyl wallpapers backed with paper and embossed wallpapers
2. Decorating using non-woven wallpapers
1. Wallpaper installation for blown vinyl and vinyl wallpapers backed with paper and embossed wallpapers
For optimum results, please consider the following points before starting work:
Check the product and production codes as well as pattern information. Please keep the control sheet and paper samples.
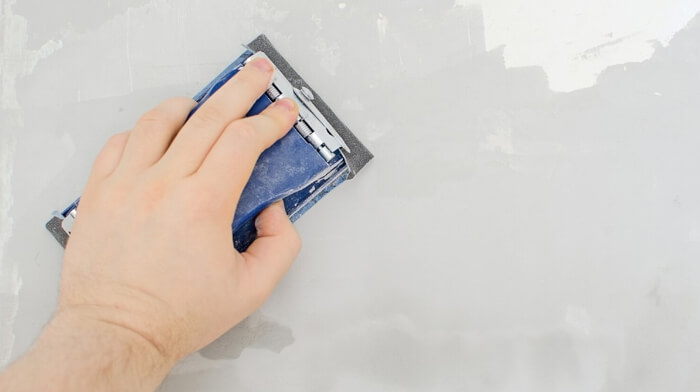
Surface preparation
Surface preparation can be extremely time consuming, especially in old buildings. Nevertheless, it is worth taking every trouble at this stage in order to achieve the best results. The following points should be observed:
- Old wallpaper and soluble paints should be completely removed.
- Old emulsion paints should be tested for stability and removed if necessary.
- Cracks and holes should be filled with putty or polyester filler, and particularly absorbent surfaces should be pre-coated with wallpaper paste.
- Prime old, sandy plaster, ideally using a water-based primer (see photo).
For wallpapers with extremely smooth surfaces, it is often advisable to use a lining paper. As a general rule, the surface must be dry, stable, evenly absorbent, clean, plain and smooth.
Cutting wallpaper strips
Cutting strips of wallpaper: The room height plus an extra 5 to 10 cm for trimming should give the correct strip length for papers with seamless patterns; in this case, lengths can be cut consecutively, independent of the pattern.
Pattern repeats: Lengths are identical for wallpapers with straight pattern repeats. Simply lay the wallpaper lengths on top of one another, making sure the pattern is in the same place for each, and cut to the required length. For wallpapers with an offset pattern, every second length will be displaced by the offset stated on the insert.
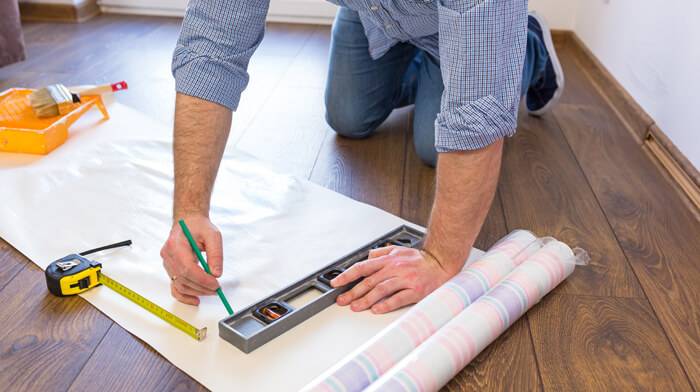
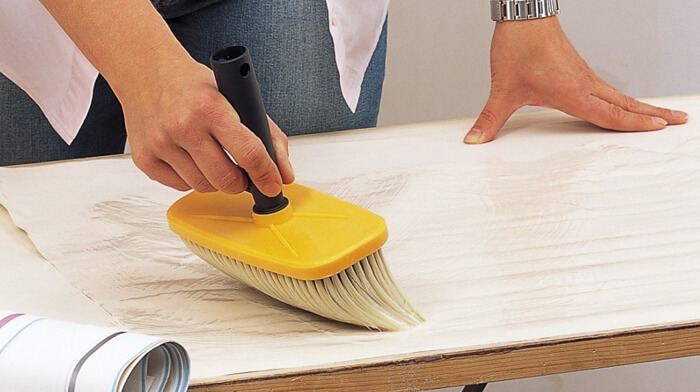
Pasting wallpaper strips
Paste: Use a branded product (wallpaper adhesive) and follow the instructions specified. Mix the paste according to the manufacturer’s instructions.
For heavy vinyl wallpapers, 20% dispersion adhesive should be added to increase adhesive strength.
Folding and rolling, ensuring adequate soaking time
After cutting, the strips are pasted evenly, folded and rolled.
A consistent soaking time must be ensured at this stage. Soaking time is dependent on room temperature and wallpaper type (around 8-12 minutes).
Only paste a small number of strips at one time, and hang them in the order they were pasted. The strips can also be pasted with a papering / pasting machine.
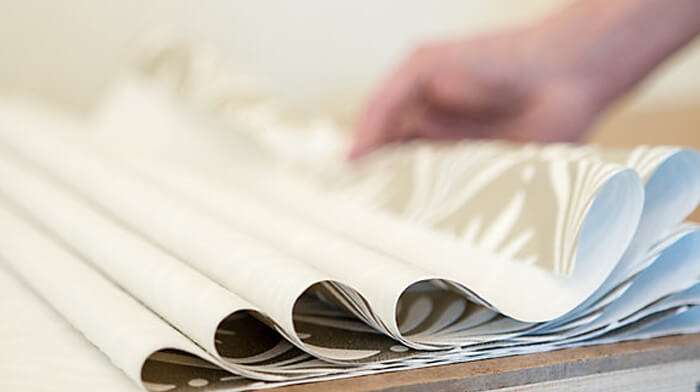
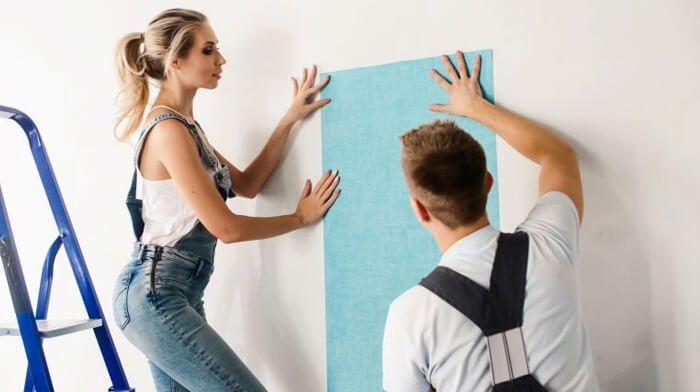
Hanging wallpaper strips
Wallpaper hanging: Wallpaper is always hung “with the light.” In other words, work should be started at the window.
Ensure that the first length is vertically plumb so that subsequent lengths are also hung straight. Place the length on the wall, allowing an overhang at the ceiling to be able to compensate for any height differences.
Hang the subsequent strips, ensuring a good butt joint, and smooth into position working from the centre to the edges to remove air bubbles.
A sponge roller, paperhanging brush or cloth can be used for blown vinyl and vinyl wallpapers.
Use a paperhanging brush or cloth for embossed papers.
A seam roller may be used to work joint areas in blown vinyl and vinyl wallpapers. Do not use a seam roller on embossed wallpapers.
Trimming the overhang
The length can now be trimmed at the top and bottom.
Additional tips
- Ensure that excessive heat and draughts are avoided when hanging and drying wallpaper.
- The ideal working temperature is between 18°C and 25°C.
- Remove spots of paste immediately by dabbing them with a clean cloth
Please always follow the instructions specified on the back of the label for your new Paperwalls wallpaper. Check the goods before starting work and only use wallpaper rolls with the same production code.
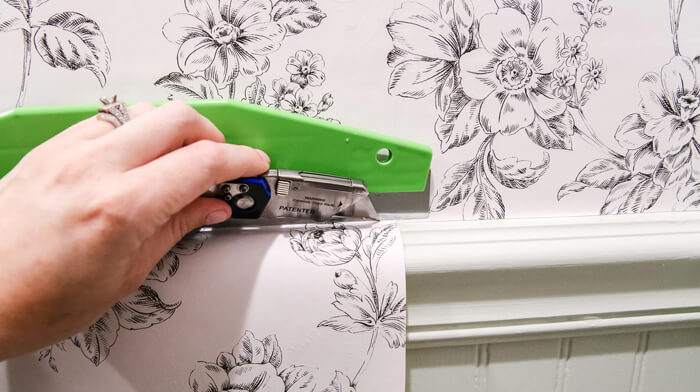
2. Decorating using non-woven wallpapers
Before starting work please consider the following points:
Check the product and production codes as well as pattern information. Please keep the control sheet and paper samples.
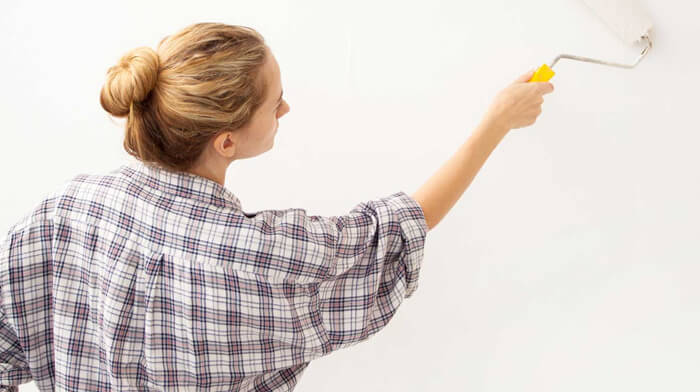
Prepare the surface well.
Surface preparation: The surface must be dry, stable, evenly absorbent, clean, plain and smooth. Old wallcoverings and soluble paints must be removed.
Cracks and holes should be filled if necessary, and particularly absorbent surfaces should be pre-coated with wallpaper paste.
Prime old, sandy plaster with a water-based primer if possible. Important: Non-woven wallpapers should be hung on surfaces of uniform colour. We therefore recommend using a tinted primer
Paste is applied directly to the wall...
You should ideally use a branded paste for non-woven wallpaper and follow the instructions specified.
Mix the paste according to the manufacturer’s instructions.
Then paste the wall in lengths using a roller.
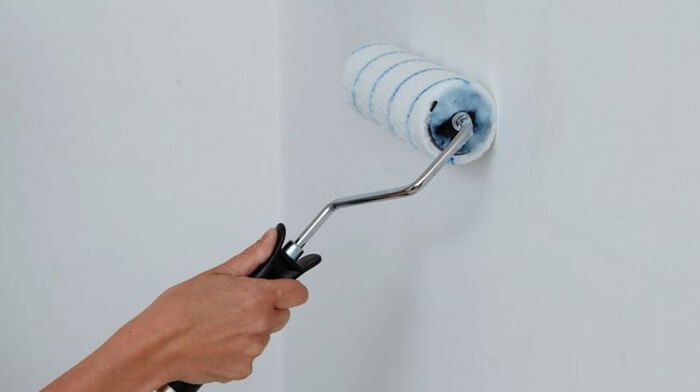
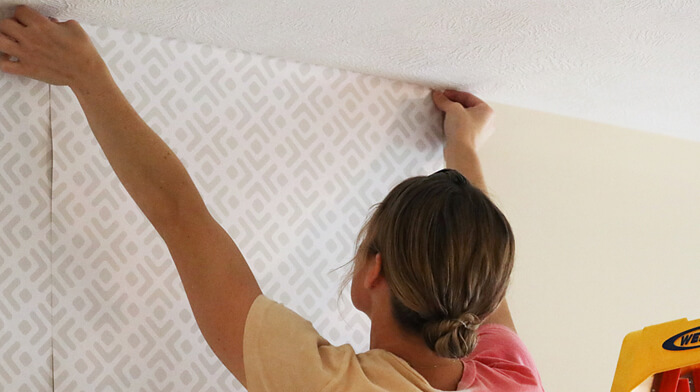
wallpaper is placed onto the pasted wall...
Wallpaper is always hung “with the light,” so work should be started at the window. Ensure that the first length is vertically plumb so that subsequent lengths are also hung straight.
Non-woven wallpaper can be hung directly onto the pasted wall and unrolled without soaking. Smooth the lengths onto the wall using a paperhanging brush or cloth, or a sponge roller to remove bubbles.
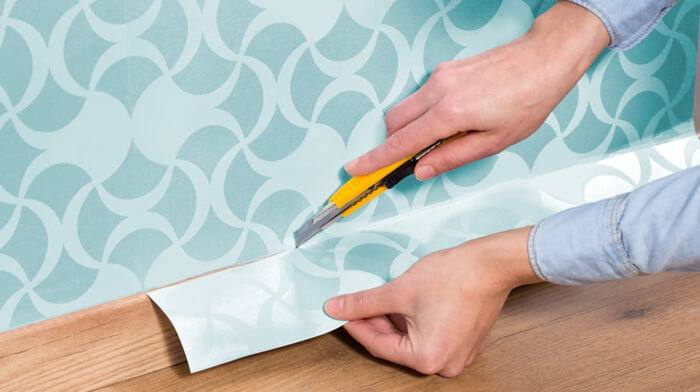
... and trimmed. That's all there is to it!
The length can be trimmed at the top and bottom.
Subsequent wallpaper lengths can now be hung, ensuring a good butt joint.
A seam roller can be used to work the joint area if required.
It is important to avoid excessive heat or draughts when hanging and drying wallpaper. The ideal working temperature is between 18° C and 25° C.
Additional tips
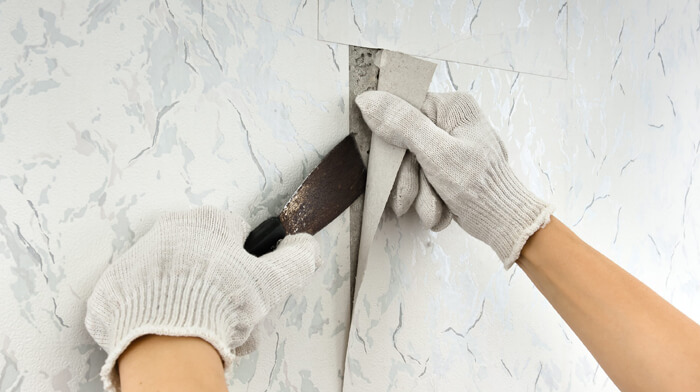
A further advantage of non-woven wallpapers is that if they are hung properly in the first instance, when you next come to change your wallpaper they can be stripped without the need for soaking and without leaving any residue.
Lengths of non-woven wallpaper can also be cut before hanging. Pay close attention to the pattern repeat or pattern offset. The room height plus an extra 5 to 10 cm for trimming should give the correct strip length for papers with seamless patterns; in this case, lengths can be cut consecutively, independent of the pattern. Lengths are identical for wallpapers with straight pattern repeats. Simply lay the wallpaper lengths on top of one another, making sure the pattern is in the same place for each, and cut to the required length. For wallpapers with an offset pattern, every second length will be displaced by the offset stated on the label.
A wallpapering / pasting machine can also be used for wallpaper lengths when working with non-woven wallpapers.
Remove spots of paste immediately by dabbing them with a clean cloth.
Please always follow the instructions specified on the back of the label for your new Paperwalls wallpaper. Check the goods before starting work and only use wallpaper rolls with the same production code.
Please feel free to reach out if you have any questions.
